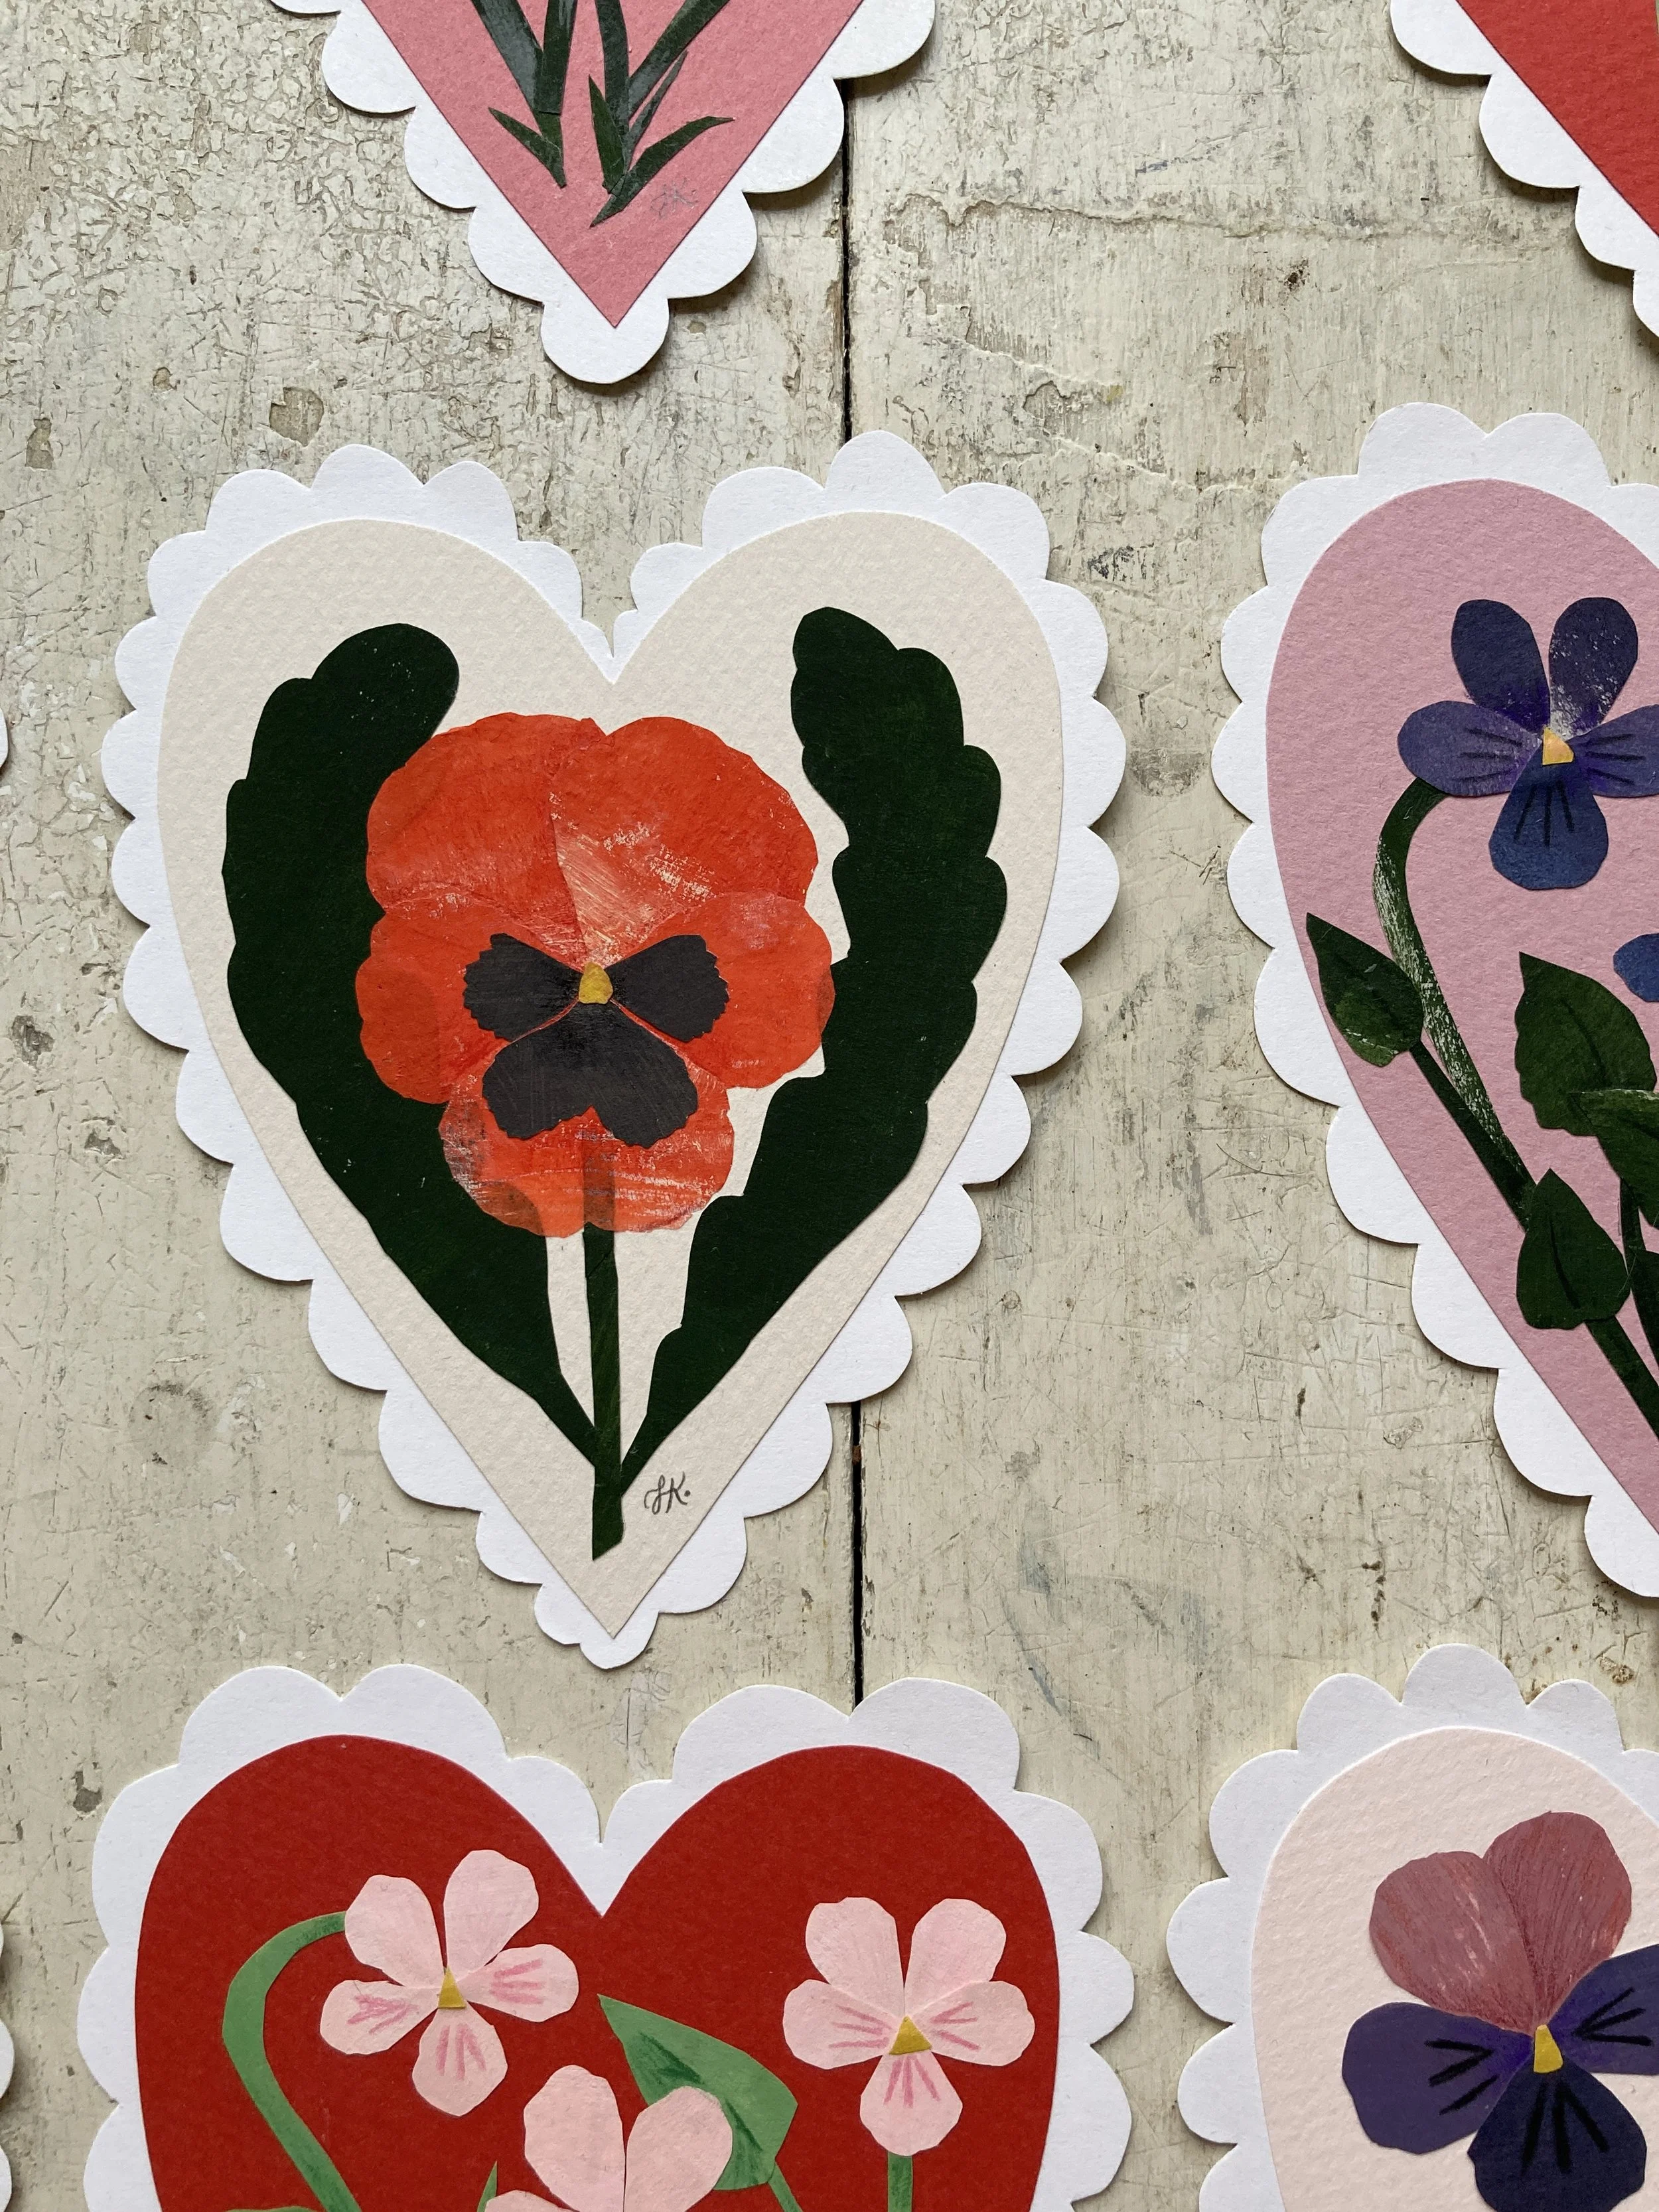
Make these simple and pretty cut paper collage Valentine (or anytime) cards with art supplies you probably already own! In this post I walk you through creating the card that’s in the center, above (the large, red pansy).
Supply List:
White cardstock for scalloped base
Colored paper for background heart (Shown here: Canson Mi-Teintes in Eggshell, Dawn Pink, Orchid, Venetian Pink and Poppy Red)
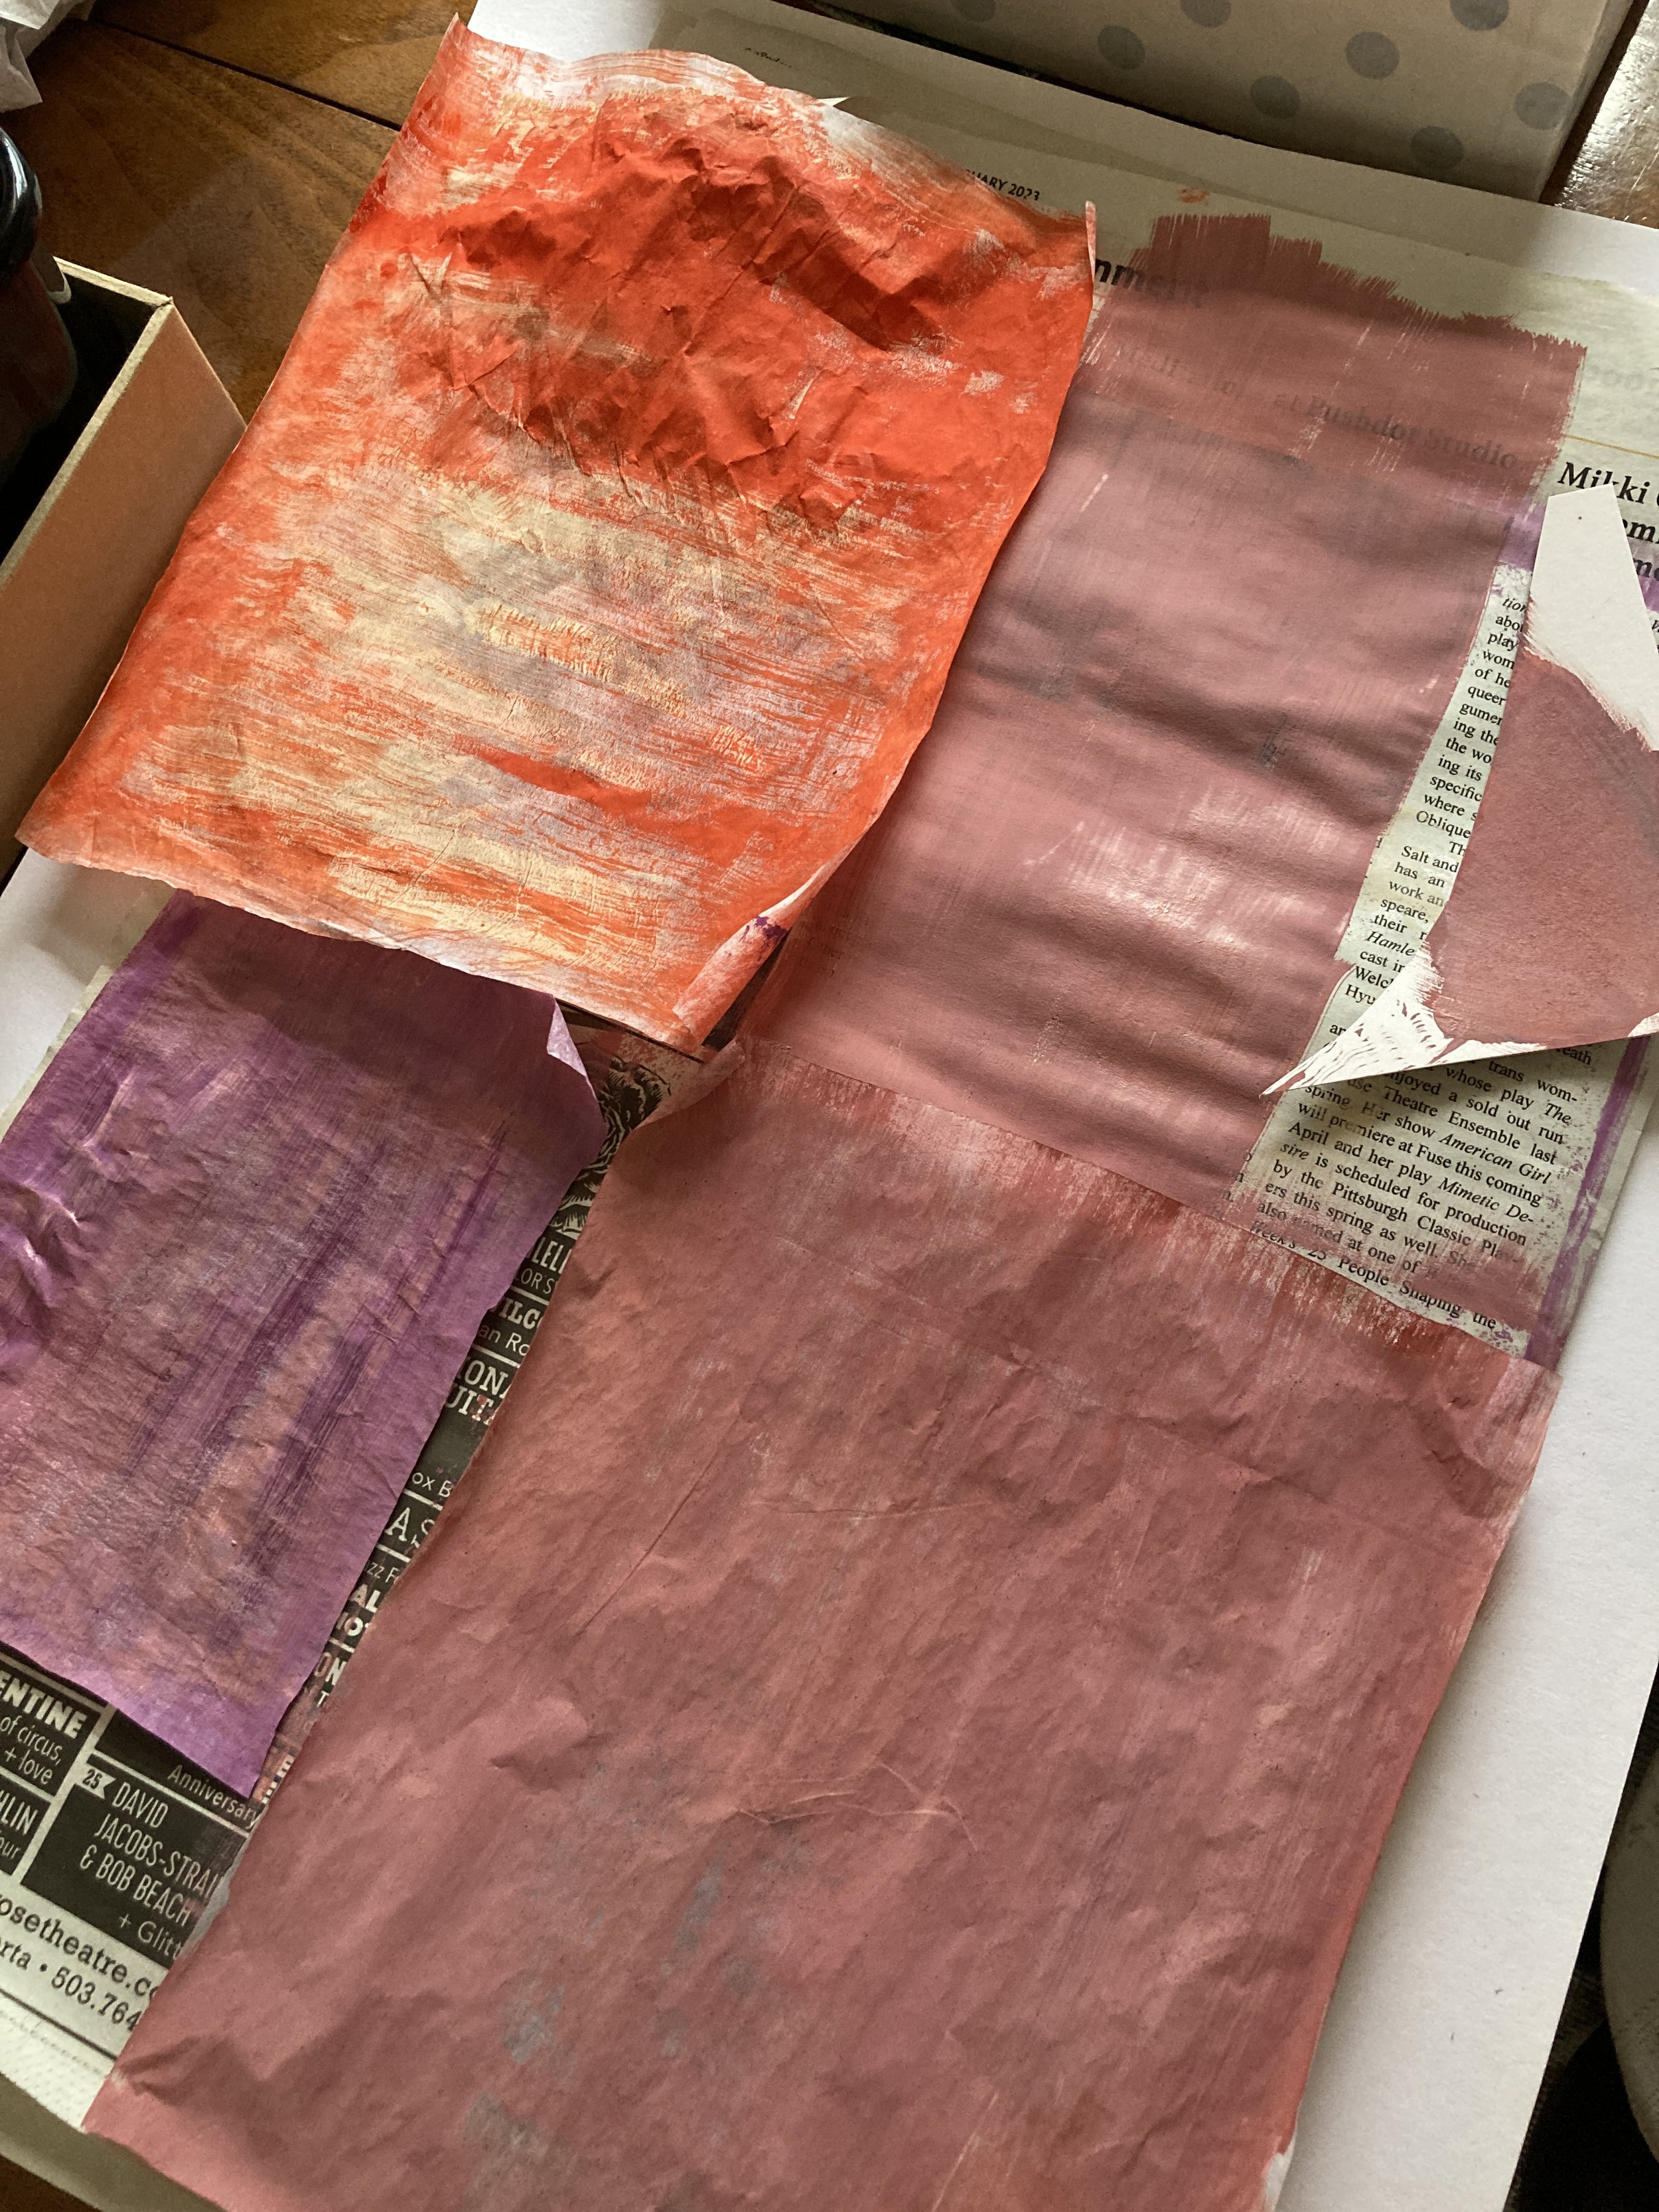
Painted paper (newsprint and/or wrapping tissue, acrylic and/or gouache paint and a wide/flat paint brush) or more colored paper for floral design
Scissors (large and/or small, whichever is more comfortable to maneuver)
Glue stick
Pencil with eraser
Colored pencils
Newspaper or similar to protect work surface
Letter-size paper (for templates)
Template for hearts and template for Pansy (2 documents total)
Optional: tweezers to hold fiddly bits and A2 size envelopes
1 PAINT PAPERS If you plan to paint your own colored paper for the flowers, do this first: Lay a large sheet of newspaper or similar to protect your work surface. Paint a thin layer on chosen collage paper and let dry. Consider applying different colors of paint on the paper for a mottled or painterly effect. Try to keep the paper flat (you could tape down the corners if you want) but I wouldn’t be too concerned with wrinkles; what I do recommend is not using too much water. Let dry.
2 PREPARE HEART TEMPLATES Print heart templates and cut them out. Trace Outer Edge template onto white cardstock. Trace Inner Edge template inside the heart you just traced onto the cardstock. Cut outside the outer heart line; you don’t have to be super careful here but removing the excess paper will make it easier for finer cutting.
3 CUT SCALLOPS Starting at the bottom (point) of the heart, start cutting the scallops in between the two pencil guidelines. At the bottom of the scallop leave about a 1/16-1/8” margin around the Inner Edge pencil line as shown in video. If you’re nervous about doing this freehand, lightly draw scallop shapes in pencil.
TIP: For cleaner cuts, use your hand that holds the paper to guide it through the inside of the scissors without using the tips of the blades. Cutting the paper with the tips will likely distort or tear the paper. Pivot the paper at the base of each curve. Your hand doing the cutting will be mostly stationary while your other hand will moving the paper through the scissors. See video, below. Carefully erase pencil lines.
4 CUT OUT BACKGROUND HEART Trace and cut out the colored paper background heart using the Inner Edge template. Erase any pencil marks. Use glue stick to attach this piece onto the scalloped cardstock you just cut making sure it’s centered.
5 PREPARE FLOWER PIECES For the pansy you can either print out the Pansy template and trace those pieces onto the reverse side of the painted paper or use the templates as a visual guide to freehand cut your own design.
6 ATTACH FLOWER PIECES Glue smaller, darker parts of the pansy onto the corresponding petals using the below photo as a guide. Arrange leaves and stem onto heart and glue where desired. Arrange petals on heart and glue. Add the flower center (if needed, use tweezers to hold this piece and glue to card).
7 ADD COLORED PENCIL If desired, use colored pencil to add detail or highlight some of the petals. For example, I used a slightly darker red colored pencil around the petal edges to emphasize the different layers and create shadow.
Cards will fit A2 size envelopes. You could also mount these on size A7 cards or 5x7” cardstock for framing or gifting.
Continue experimenting with creating other flowers like sweet violets, snowdrops and narcissus.


