I have a collection of Victorian calling cards that I’ve amassed over the years. They’re relatively easy to come by, at the antique mall or in lots bought on Ebay or Etsy. Mine are mostly kept in a box that I’ll sift through once in a while; I love the artwork and themes as well as the old-fashioned names in fancy fonts and, if I’m lucky, handwritten text. I came up with this project because I believe that they’re too pretty to keep locked away! These simple needle books would make sweet little gifts for your sewist friends, tucked away in cards or packages. They also make use of fabric scraps and those tiny antique buttons that you’ve been collecting.
(I forgot to pause the movie before I started filming this clip! Brownie points to anyone who can guess where the audio is from.)
Supply List:
2 Victorian calling cards for each book (Find a pair with the same dimensions. You might need to trim down one of them to make a matching set.)
Scissors (One for fabric and one for paper if you need to trim down cards.)
5/8” or 15mm washi tape
A slick surface like a piece of smooth plastic or salad plate (A surface from which you can easily remove tape without damage.)
Glue (Any kind that can be used to glue fabric to paper.)
Felt or fabric the same dimensions as the cards (If you want 2 “pages” use a piece that’s double the width.) A tighter weave is more durable and less prone to raveling than a loose weave (felt won’t ravel which is a durable choice).
Fabric marking pen or pencil
Sewing needles or pins to include in the book
Optional: pinking shears for fabric
Optional: if you want your needle book to have 2 pages you’ll need 6-ply embroidery floss or thread and a sewing needle. If you want a closure you’ll also need 2 tiny sew-through buttons (1/4” or 6-7mm diameter).
1 TRIM CARD Decide which card you want for the front. If one card is slightly bigger than the other trim to match the smaller card.
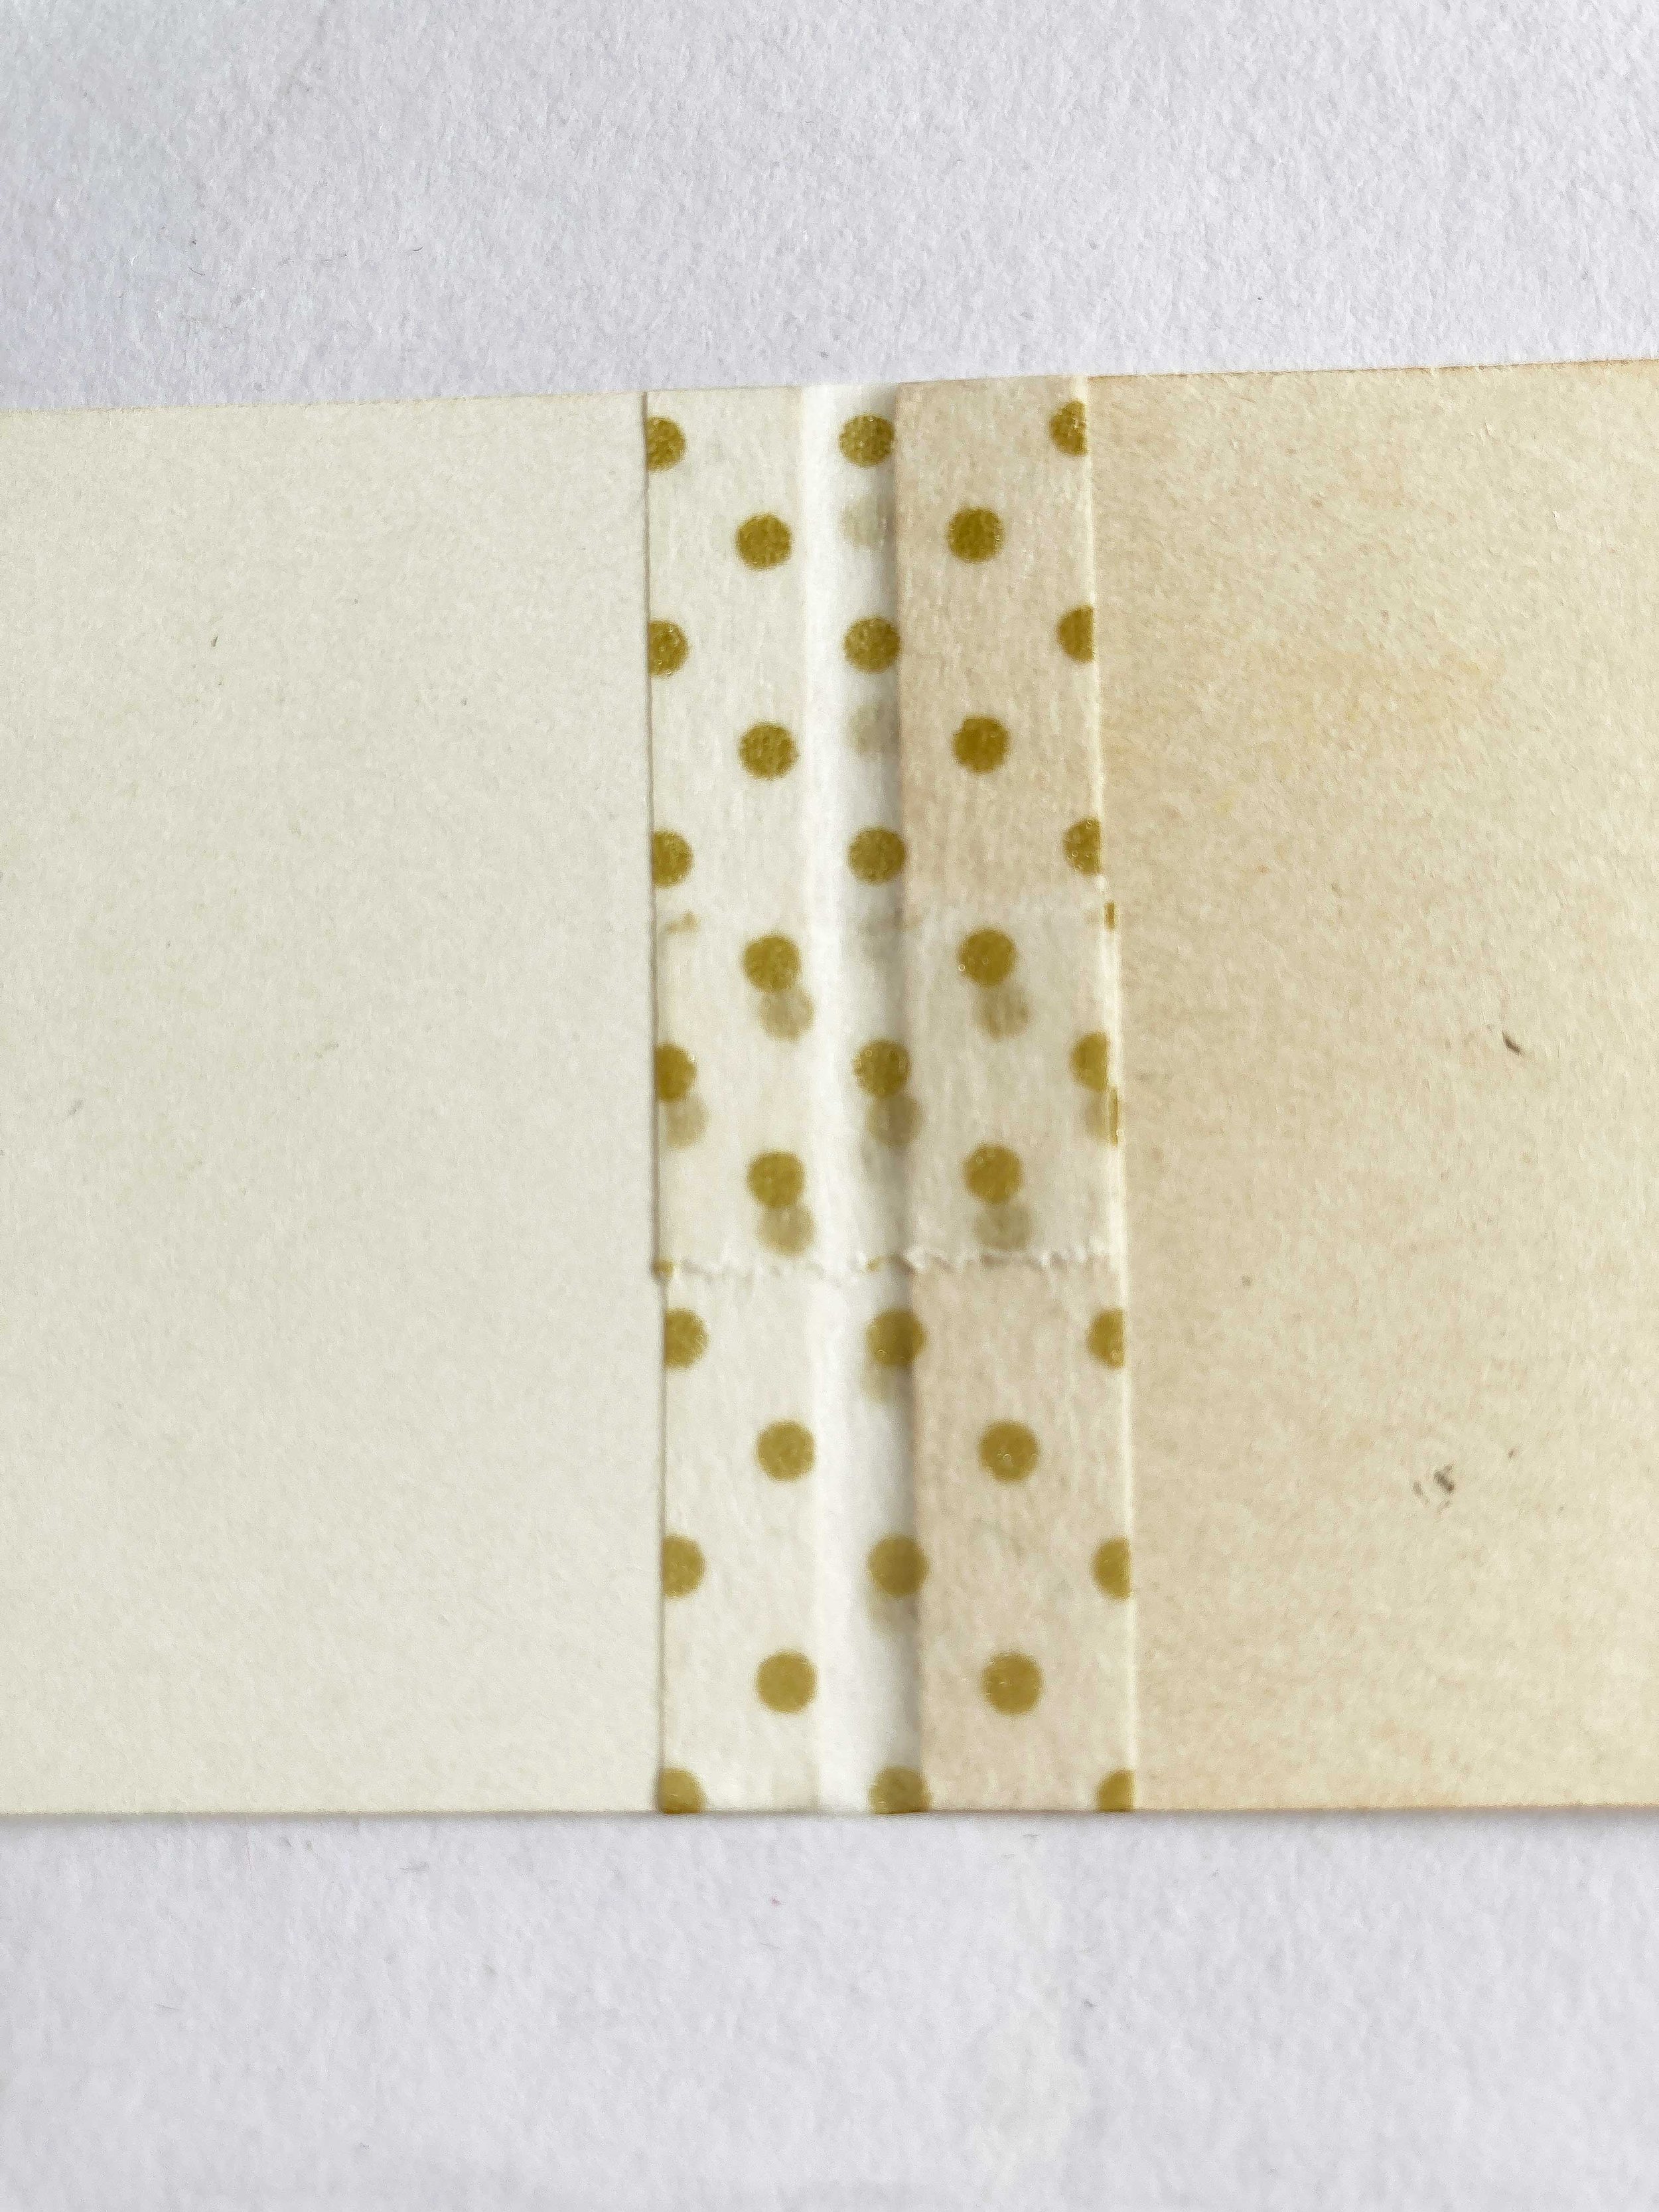
2 BIND CARDS TOGETHER To create the binding, cut a piece of tape that is slightly more than twice the height of the cards. Lay your front card face up on your plate or scrap piece of plastic. Center the strip of tape along the left edge of the card and overlap it 1/8”(3mm) to 1/4” (6mm) and press down. (If you plan to use felt inside the book, and especially if you want 2 pages of felt, overlap the tape only about 1/8” [3mm] as you’ll need more space in the binding.)
Carefully lift the taped card off of the slick surface and flip over. Lay the other card, face down, on the other side of the tape and press. (Make sure the decorated side is oriented how you want.)
Fold tape ends over toward the center of the book.
3 ADD FABRIC Cut fabric slightly smaller than one card. Use pinking shears if you want a zigzag edge and to slow raveling, or snip the outer edge with an inverted triangle (like in the pale yellow felt in the first photo). Glue the left edge onto the back of the book.
If you want 2 pages I recommend stitching the piece down the center, through the book binding. Do this carefully to avoid ripping the tape. You only need two holes and you can tie the thread on the outside or inside of the book. You can also use glue but it might make the binding too bulky.
The needle book will function fine as is but if you’d like to add a button closure, follow the next step.
4 CREATE BUTTON CLOSURE Cut a small, 1/4” (3mm) length of tape. Cut that piece in half so you have two little squares. On the inside of the book press a tape square on each outer edge. These pieces will serve to reinforce the buttons that will be on the outside.
With 8” (21cm)+ length of sewing thread or 3 plies of embroidery floss and a needle, carefully sew one of the buttons to the front of the book. I go through the front first so I can hide the knot under the button.
Stitch through the button twice and finish by knotting the thread around and under the button (or whichever method feels secure to you). Cut off tail.
With another length of thread or floss, repeat the above process with the back button except leave a 4 or 4 1/2” (10-12cm) tail. To close the book, wind this tail around the front and back buttons in a figure-8.


